


Pavers are a fantastic option for enhancing outdoor spaces, offering durability and aesthetic appeal. If you’re considering pavers in Suwanee, it’s essential to understand the installation process to ensure a smooth and successful project. From initial planning to the final placement, here’s what homeowners can expect during the installation.
Planning and Site Preparation
Before the installation begins, professionals assess where the pavers will be installed. This step involves measuring the space, checking for potential drainage issues, and determining the best design to complement the landscape. Clearing the site is crucial, as any existing structures, vegetation, or debris must be removed to create a stable foundation.
Once cleared, the ground is excavated to the required depth, ensuring a solid base for the pavers. A compacted sub-base layer, typically gravel or crushed stone, is laid down. This foundation prevents shifting and ensures longevity.
Choosing the Right Pavers
Selecting the right type of pavers is a key decision. Homeowners can choose from various materials, including concrete, natural stone, and brick. Each material has its benefits, from the rustic appeal of brick to the sleek concrete finish. Additionally, the choice of color, texture, and pattern plays a significant role in enhancing the overall look of the outdoor space.
A well-thought-out selection not only enhances curb appeal but also contributes to the durability of the surface. Many homeowners opt for pavers due to their ability to create durable and stylish outdoor spaces.
Installation Process
1. Laying the Base Material
After excavation, a layer of base material is spread evenly and compacted. This step ensures a stable surface that can withstand heavy loads and weather conditions. The base layer’s thickness depends on the pavers’ intended use, such as driveways, patios, or walkways.
2. Adding the Sand Layer
A layer of sand is then spread over the compacted base. This sand layer acts as a cushioning bed and helps level the pavers during placement. The sand must be evenly distributed and compacted to prevent shifting over time.
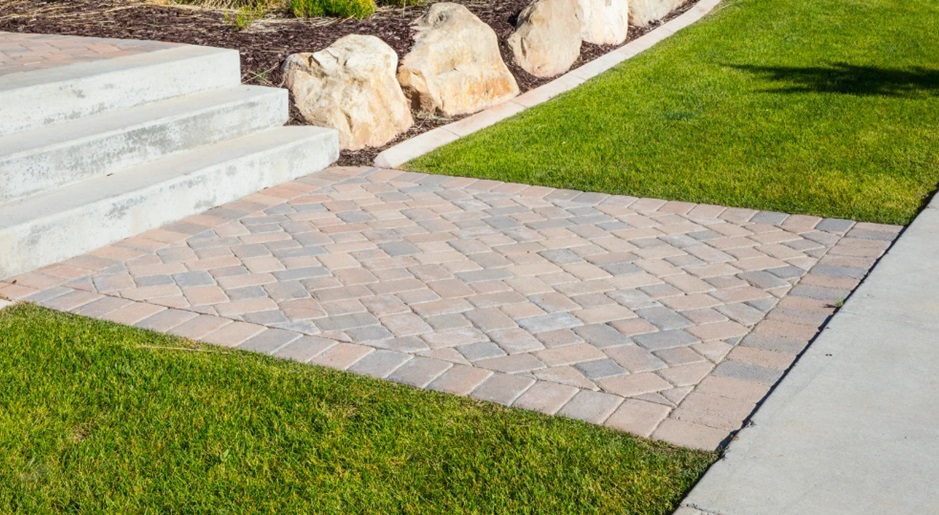
3. Placing the Pavers
The pavers are carefully laid out following the chosen design. Installers use spacers to ensure uniform gaps between pieces to achieve a seamless look. During this stage, adjustments are made to fit the design perfectly.
4. Compacting and Sealing
Once all pavers are in place, they are compacted using a plate compactor to secure them firmly into the sand layer. Afterward, additional sand is swept into the joints to lock the pavers together. Some homeowners seal the pavers to enhance color vibrancy and protect against stains.
Post-Installation Care and Maintenance
Maintaining pavers is relatively easy, but routine care ensures they stay in excellent condition for years. Regular sweeping, occasional pressure washing, and refilling joint sand, when needed, can help maintain their integrity. Additionally, sealing the pavers every few years can enhance their resistance to wear and weather exposure.
Conclusion
For homeowners looking to maximize the benefits of pavers, investing in professional installation ensures durability and a polished finish. With proper maintenance, pavers can transform any outdoor space into a stunning, long-lasting feature.